Using Nerdio Manager for WVD you can easily onboard/add existing WVD Tenants and/or Workspaces you might have deployed previously.
This way you do not have to start over and you can continue to use what you have already built, user entitlements included. This will save you a lot of time (and money).
However, we take it a couple of steps further even, continue reading to learn more.
Once Nerdio Manager for WVD is installed the process of adding existing WVD deployments is extremely simple. Most of our customers already have Tenants or Workspaces in place that they want to continue using, which makes perfect sense.
Adding existing WVD deployment into Nerdio Manager for WVD
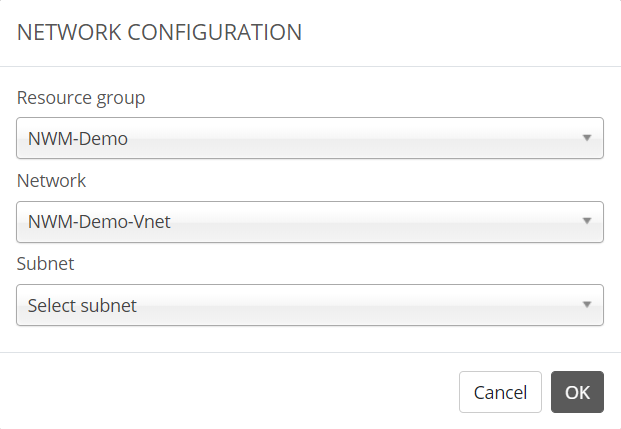
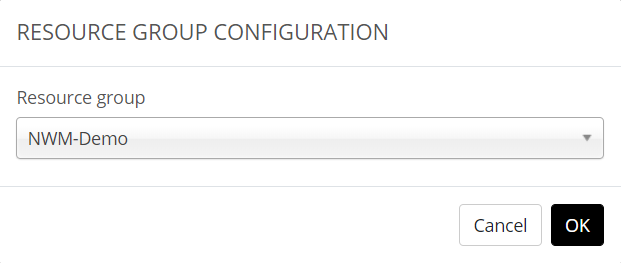
First, we start by linking the resource groups and networks where the existing Tenants and/or Workspaces are deployed into. Next, we go over to the Tenant or Workspaces section in Manager for WVD, do a page refresh, and voila, there they are.
Go into your Workspace or Tenant of choice (by clicking on its name, for example) and associate the hostpool VM’s with Nerdio Manager for WVD, the process will speak for itself.
Migrate from the WVD Fall to Spring release
Tenants, and the hostpools they include are based on the Fall (non-ARM) release. Meaning, they lack a lot of features, compared to the Spring release, and even more so when compared to Nerdio Manager for WVD. The list almost endless, too much to mention here.
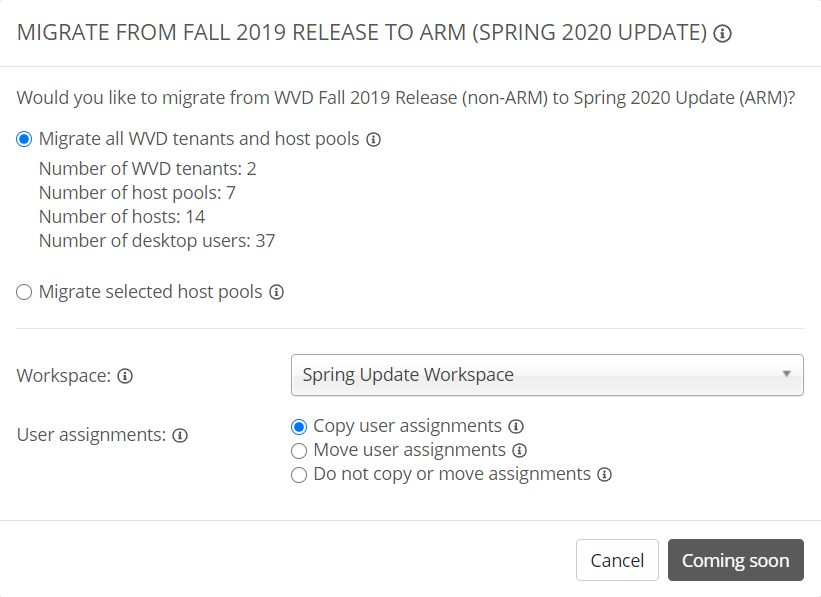
To take care of that we have the migration process from Fall to Spring already built-in, configurable through a GUI and fully automated. All you have to do is select your Tenants and hostpools and the Workspace to migrate them into. As you can see on the image below, you have multiple options around user assignments as well.
You can select all Tenants and hostpools at the same time, or one by one. Of course, when you have multiple Workspaces configured you will be able to select the Workspace to migrate your Tenants and hostpools into.
Once Microsoft officially releases the PowerShell modules, this option will become available within Nerdio Manager for WVD – that’s why the button says “Coming soon”.
Migrate to autoscaling
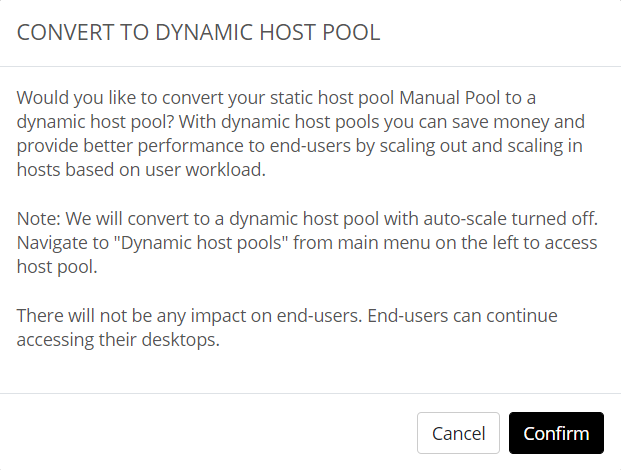
A new feature that we recently added as part of the 2.3.0 release offers the ability to migrate a Static hostpool to a Dynamic hostpool. This will enable you to utilize the Nerdio autoscaling engine without needing to rebuild the entire hostpool, add in machines, image them, assign users etc.
Why?
When you add in a hostpool part of a Tenant and transform it into an Workspace hostpool it won’t have any kind of autoscaling capabilities. Also, even if you’ve imported a Workspace, including one or multiple hostpools, those won’t support autoscaling either.
Sure, there are some power management scripts available from Microsoft, but that doesn’t come close to what we are capable of doing. And even if it did, it wouldn’t be compatible with our code.
In short, that means that every hostpool (as part of an existing Tenant or Workspace) you import into Nerdio Manager for WVD will be configured as a Static hostpool. As such, is will not offer any autoscaling capabilities – see below as well.
Static and Dynamic differences
The only difference between the two is that with a Static hostpool you will need to add and remove hosts manually, using our graphical user interface.
With a Dynamic hostpool this will all be taken care of by the Nerdio autoscaling engine.
To be able to leverage autoscaling, an imported hostpool (which, to start out with will always be of the Static kind) will need to be rebuilt into a Dynamic hostpool. Before, and as mentioned previously this was a manual process.
As of last week, this process is now fully automated – see image below.
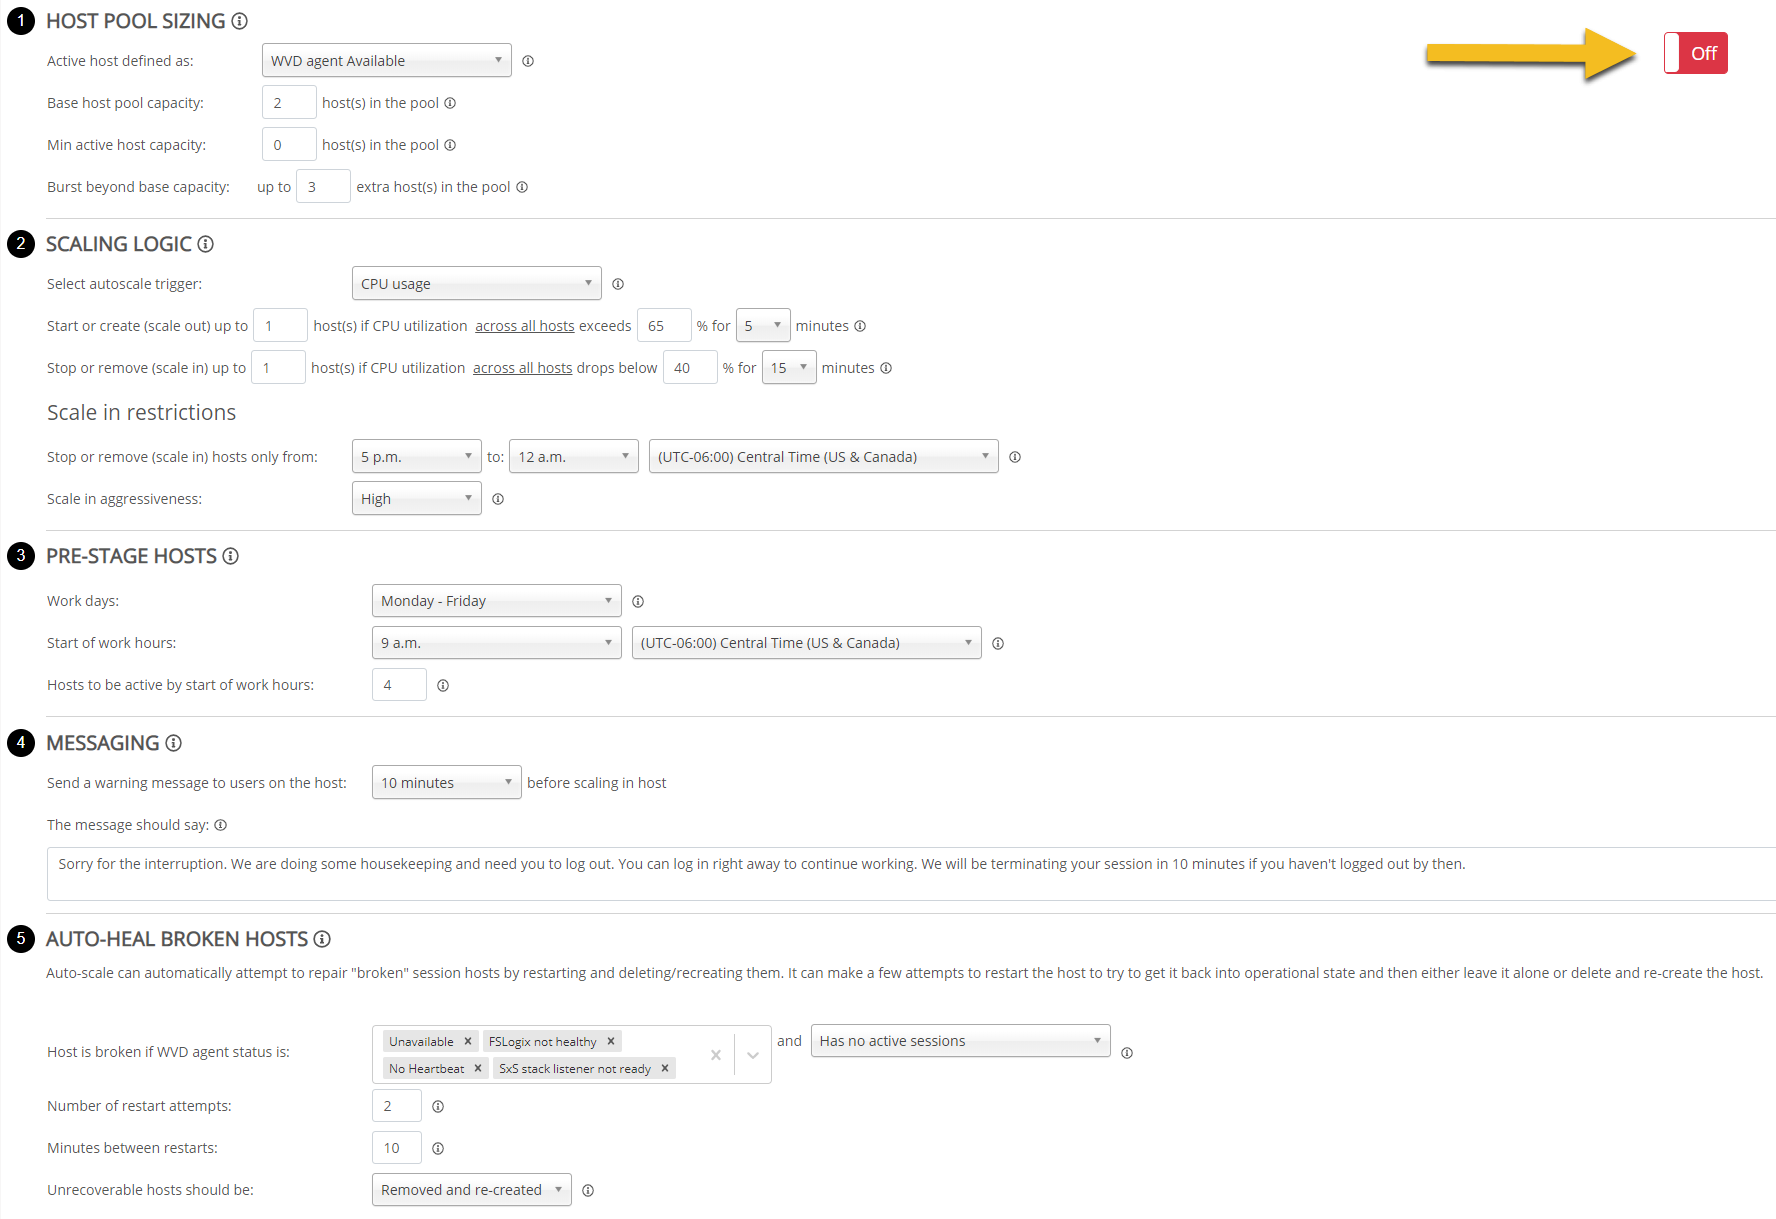
Once done, all you have to do is enable autoscaling on the hostpool by going into the autoscale configuration page, flip the switch to “On” and configure the engine as desired.
That’s it. A 4-step process.
- Add existing Tenants and Workspaces to Nerdio Manager for WVD
- Migrate Tenants into Workspaces, including all user assignments
- Turn static hostpools into dynamic hostpools (autoscaling)
- Turn on and configure autoscaling
- Save on costs without doing anything
Thanks for reading / viewing. If you have any questions, let me know.


