During the last couple of weeks I have been testing several StoreFront / Receiver features. Relatively simple things like single sign-on for Receiver, working with multiple stores, hiding applications and/or desktops from StoreFront (Store) using PowerShell etc. things like that. At first I started out with the Tech Previews of the X1 Receiver and StoreFront 3.0, which worked ok, but I couldn’t do everything I wanted. When I reverted back to the (back then) latest Receiver build things were again fine and I could continue testing.
When Citrix officially launched their new 4.3 (X1) Receiver and StoreFront 3.0 (among other goodies) one of the first things I did was upgrade. Would everything still be in place afterwards? I was a bout to find out. First of all, upgrading is easy. You download the latest bits and bytes, click the install button and hit next a few times. Done! Really, that’s it. If it’s failing, something had to be wrong already. Just make sure you have Studio closed, no active sessions etc.
After the install, if you want, it will launch the StoreFront management console automatically. I decided to close it and manage StoreFront using Studio. Having a quick look showed that everything was still in place, the only difference being that there were a few options added to right-hand side actions pane. Like ‘Disable Classic Receiver Experience’ for example, which can be found in the ‘Receiver for Web’ section. And under ‘Stores’ we now have ‘Set Unified Experience as Default’ as an extra option as well. Both we will have a look at.
Smooth…
First of all let me tell you that almost everything I had in place before the upgrade, as mentioned above, was still there after the upgrade finished (and with after I mean the installations / upgrades of StoreFront as well as Receiver). And even better, it all still functioned as intended. Both my Stores were still there and were only showing certain applications and/or desktops as configured earlier using PowerShell, which is something I’ll cover in a next (short) article, single sign-on still did its thing and my applications / desktops launched without any issues as well.
The only thing I had to re-do was to get rid of the ‘HDX file access’ splash screen on my published desktop. This is a specific HKLM Registry setting that needs to be added to the local client from where Citrix Receiver is started. By installing the new 4.3 (X1) Receiver this will be deleted in the process. But again, all Receiver specific settings were retained. Nice and smooth.
Once upgraded (I upgraded from 2.6 by the way not the 3.0 Tech Preview) one of the first things you might want to have a look at is to graphically change your main StoreFront login page (Receiver for Webpages) also referred to as ‘Logon Branding’, as well as the overall look and feel of your Store (or Stores) itself, post logon if you will a.k.a. ‘Header Branding’. Although it’s a cool addition, feature wise, I do think that a lot of companies spend way touch time on this. Anyway…
Make sure to also read my latest on the use of two separate stores within StoreFront, you’ll find it here: Citrix StoreFront… The tale of two stores. Hiding, authentication and visuals!
First things first
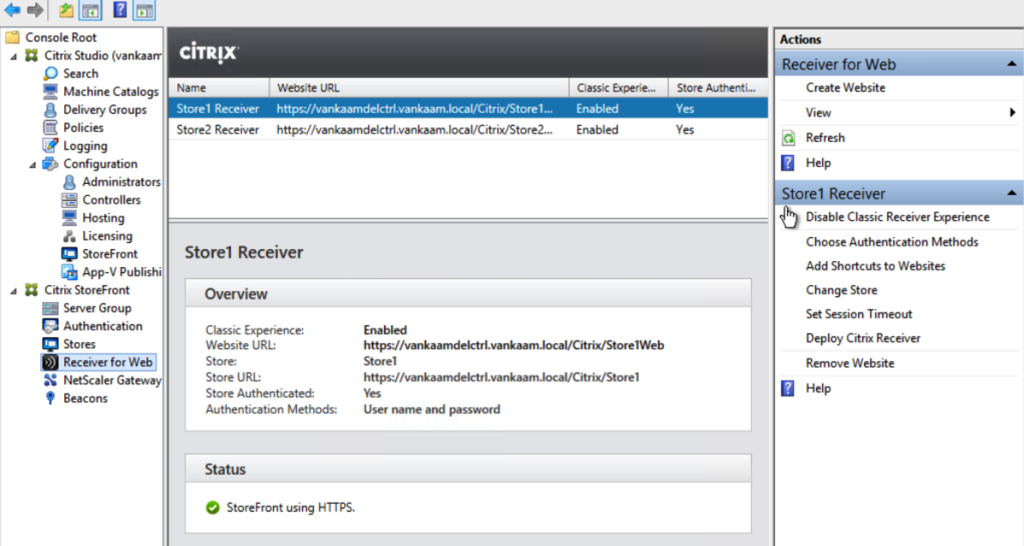
The first thing you need to do is to go to the ‘Receiver for Web’ section, select your store of choice (we will be working with Store1 throughout this article) and select the new ‘Disable Classic Receiver Experience’ feature. If you don’t, and you go to the ‘Stores’ section and try to configure the ‘Set Unified Experience as Default’ option first, you will end up with this:
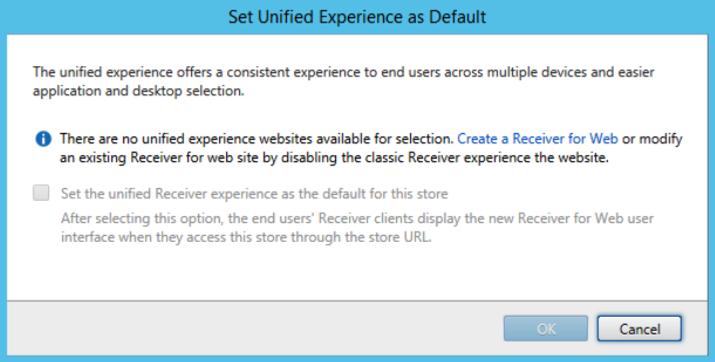
As mentioned you first need to disable the classic Receiver experience first (note that this only applies to Receiver for Web and thus your web based users, it won’t change anything for the natively installed Receiver stores). Have a look at the screenshot below. Go to the ‘Receiver for Web’ section, as displayed on the left-hand side. Next, click on the ‘Disable Classic Receiver Experience’ from the right-hand side actions pane. Don’t forget to select the correct Store first, again, we will be using Store1.
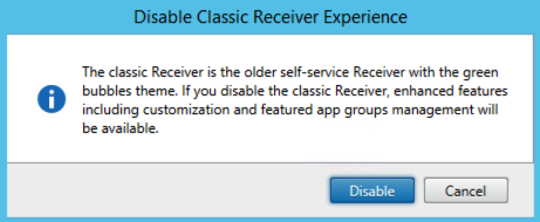
Once clicked this pops up.
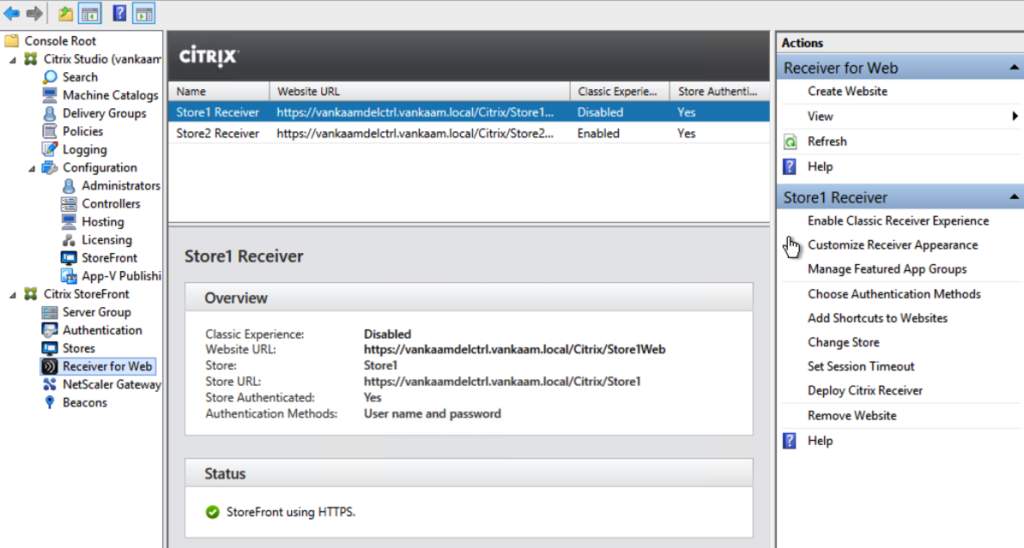
After you click disable a few more options will appear in the actions pane window, see below. Also notice that in the main top window as well as in the Store1 Receiver window below it, the Classic Experience status has changed from Enabled to Disabled.
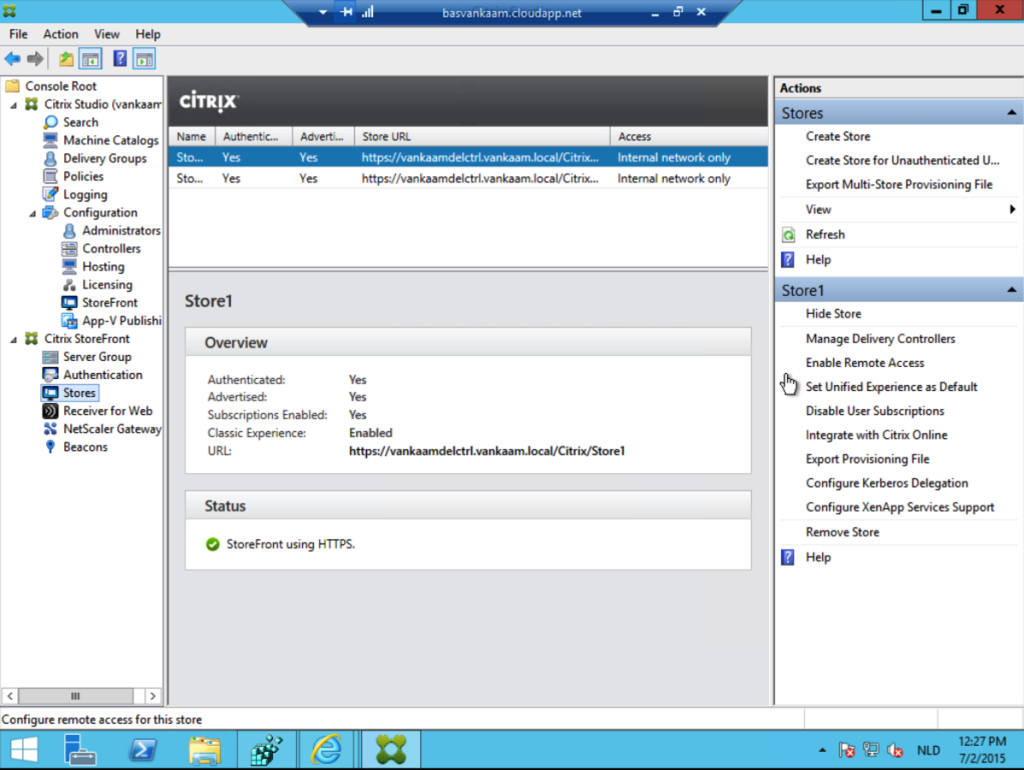
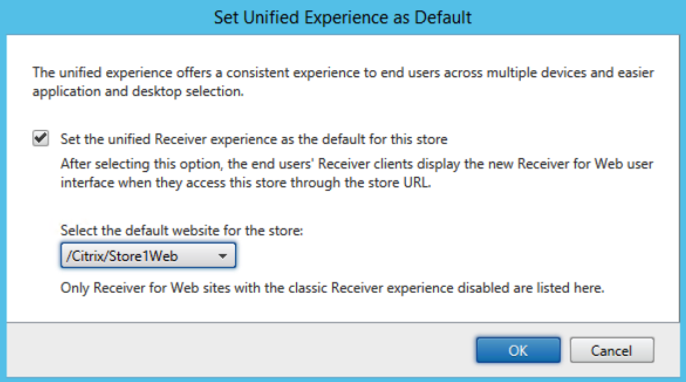
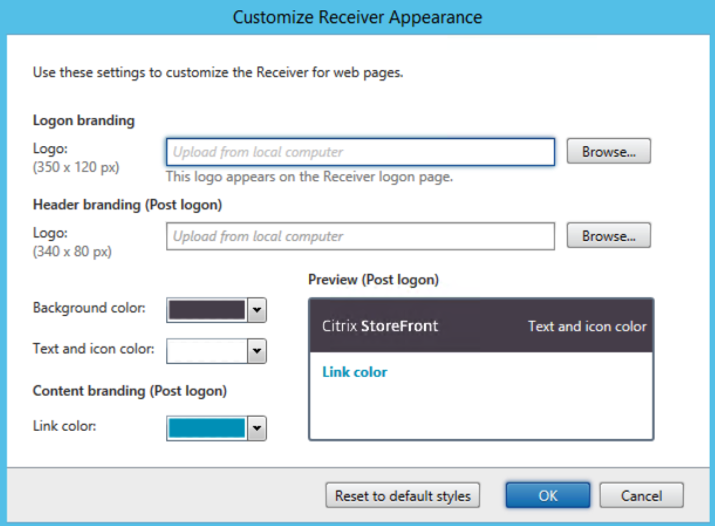
You are now also able to change the initial Receiver for Web login page (Logon branding) as well as the post login page (Header branding, which is basically your (native) Store) by selecting ‘Customise Receiver Appearance’. Again, until we also configure our Store(s), these settings will only apply to the Receiver for Web webpage. You can also manage your resources by grouping them into separate sections based on specific categories by selecting ‘Manage Features App Groups’. We’ll have a look at both. Now that we have disabled the classic Receiver experience we can go back into the Stores section and select ‘Set Unified Experience as Default’ a shown below.
Here you will see that we can select Store1Web to make use of the so called Unified Receiver Experience, go on and click OK.
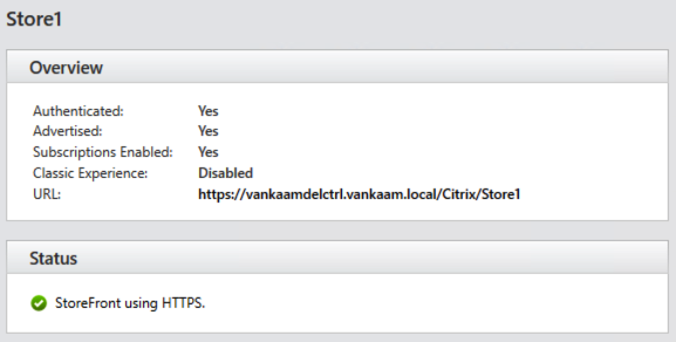
When done, if you have a look at the Store1 overview properties you will see that the Classic Experience has changed to ‘Disabled’, which is what we wanted to achieve. Store1 is now also able to make use of the earlier mentioned ‘Header Branding’ options configurable by selecting ‘Customise Receiver Appearance’ as discussed in the nest section.
Ok, now go back to the ‘Receiver for Web’ section and select the ‘Customise Receiver Appearance’ feature and go and have some fun, it will look something like this, see below.
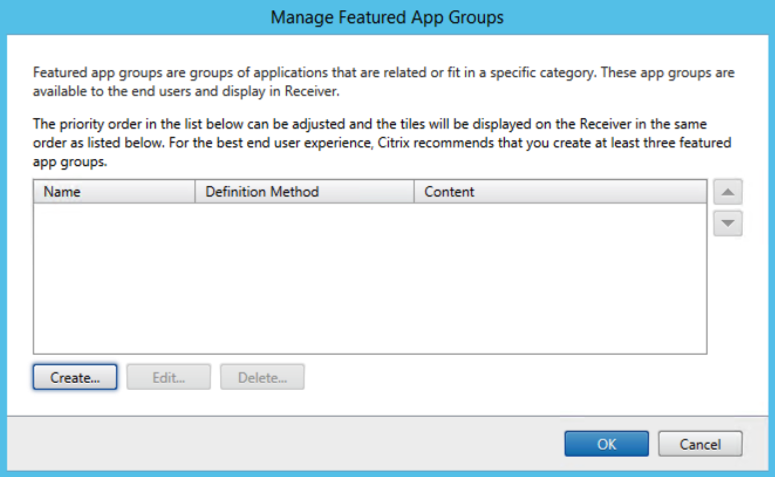
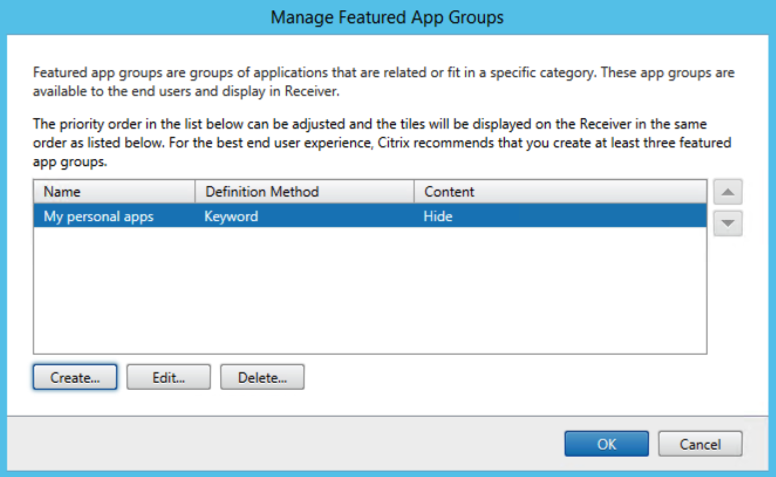
Combined with some of the (new) NetScaler branding options this will probably get you beyond started. And while we’re ad it, if you go back to main management console and select the ‘Manage Featured App Groups’, again from the right-hand side actions pane, you will end up with this.
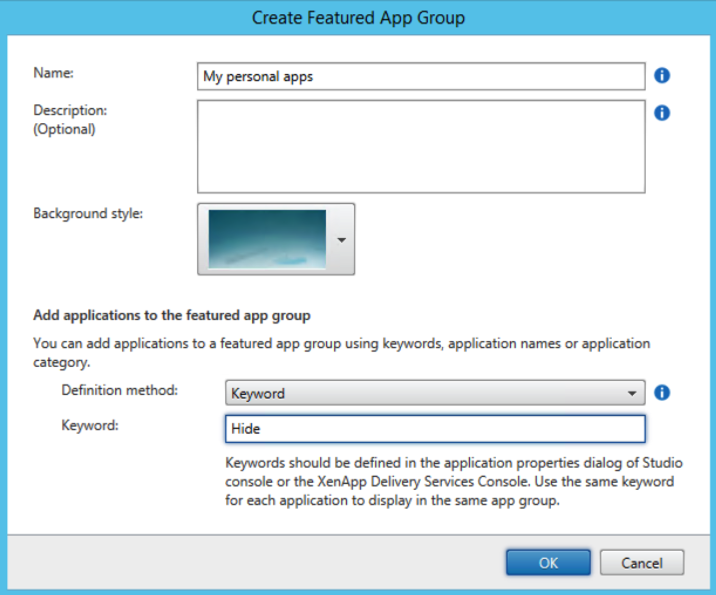
Once you click create this will appear. As you can see it’s very basic, but will do for now.
After you click OK you can order, if you have multiple, your app groups as you feel fit. Very straightforward.
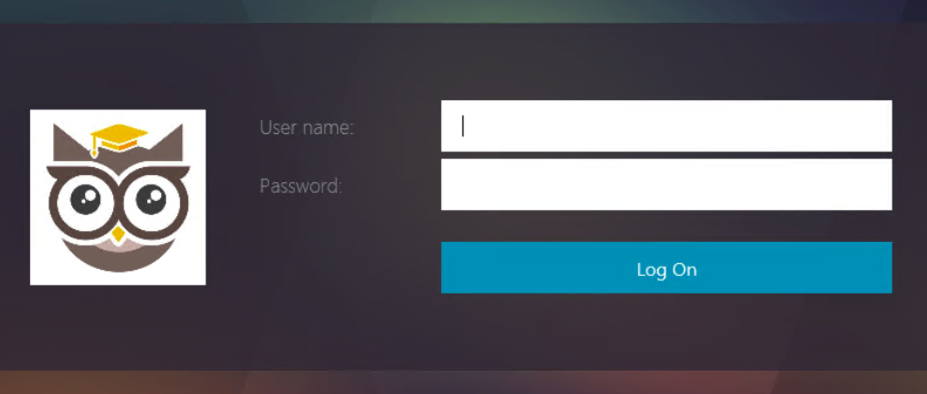
Of course I gave it a quick go as well, this is how I ended up after a few clicks.
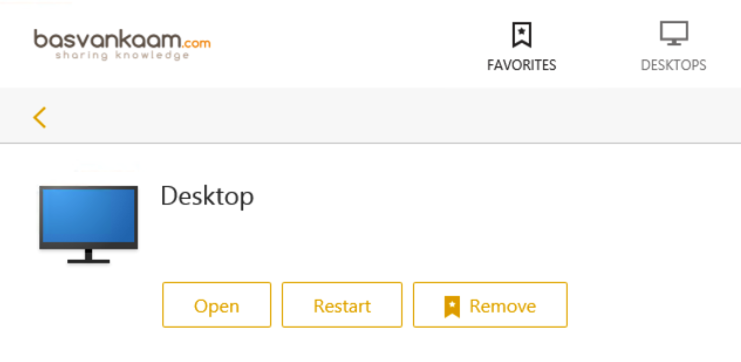
Once logged in, my (Receiver for Web) Store looked like this. It goes without saying that you can get as creative as you like.
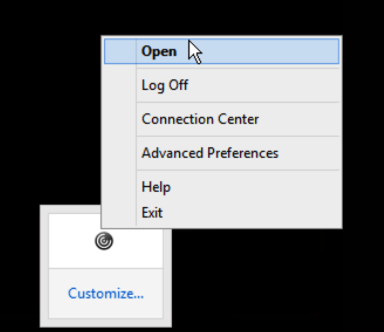
 The Receiver on my Hosted Shared Desktop is configured to connect to Store2. And as we’ve seen in some of the earlier screenshots, I didn’t change anything for Store2. So when logging into Store2, once I logged into my desktop session, everything looks as we are used to.
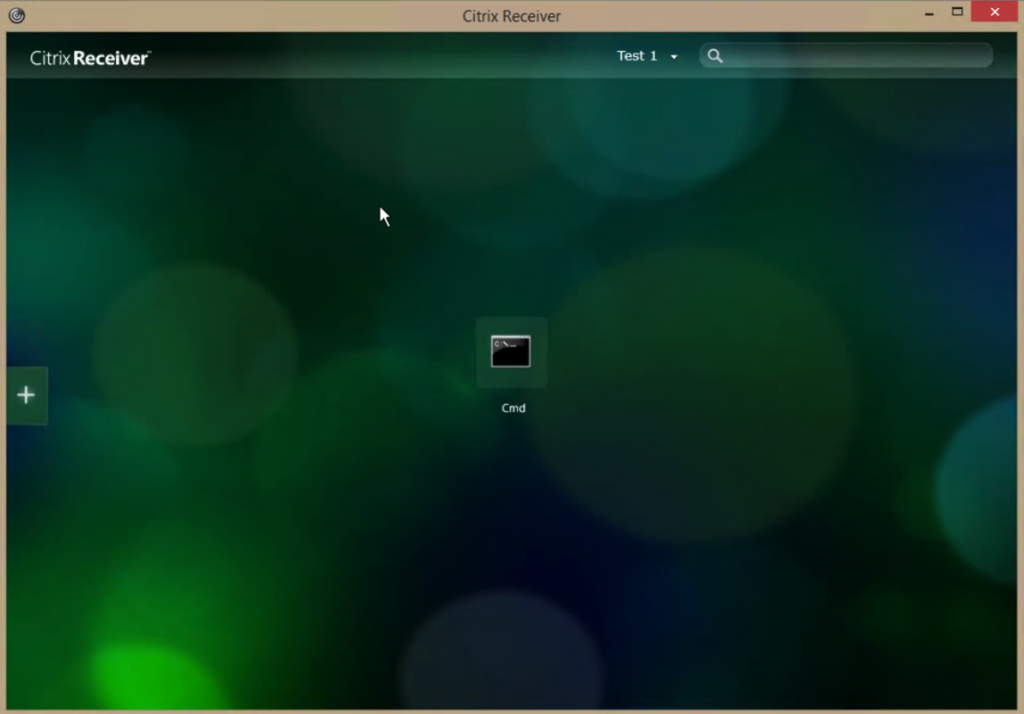
And there they are… The green bubbles.
That’s it for now, I have a few more short posts coming up shortly, all StoreFront / receiver related. Thanks for reading.
